Getting started
This guide will help you set up Godot WRY and use the WebView node in your Godot project.
Installing
There are a few ways to install Godot WRY for your Godot project:
Asset Library
The easiest way to install Godot WRY is through Godot's Asset Library. You can install it via the editor by following these instructions:
- Open your project in Godot 4.1 or later.
- Go to the "📥 AssetLib" tab at the top of the editor.
- Search for "Godot WRY".
- Click on the Godot WRY extension and click Download.
- In the configuration dialog, click Install.

GitHub releases
- Go to the Releases page.
- Download the latest release ZIP file (not the source code).
- Extract the contents into your project's "addons" folder (create one if it doesn't exist yet).
Build from source
Use just to build the extension and move the binaries to the Godot project folder:
just buildPlease refer to the Building from source page for more details on how to compile the project binaries.
Rendering webview
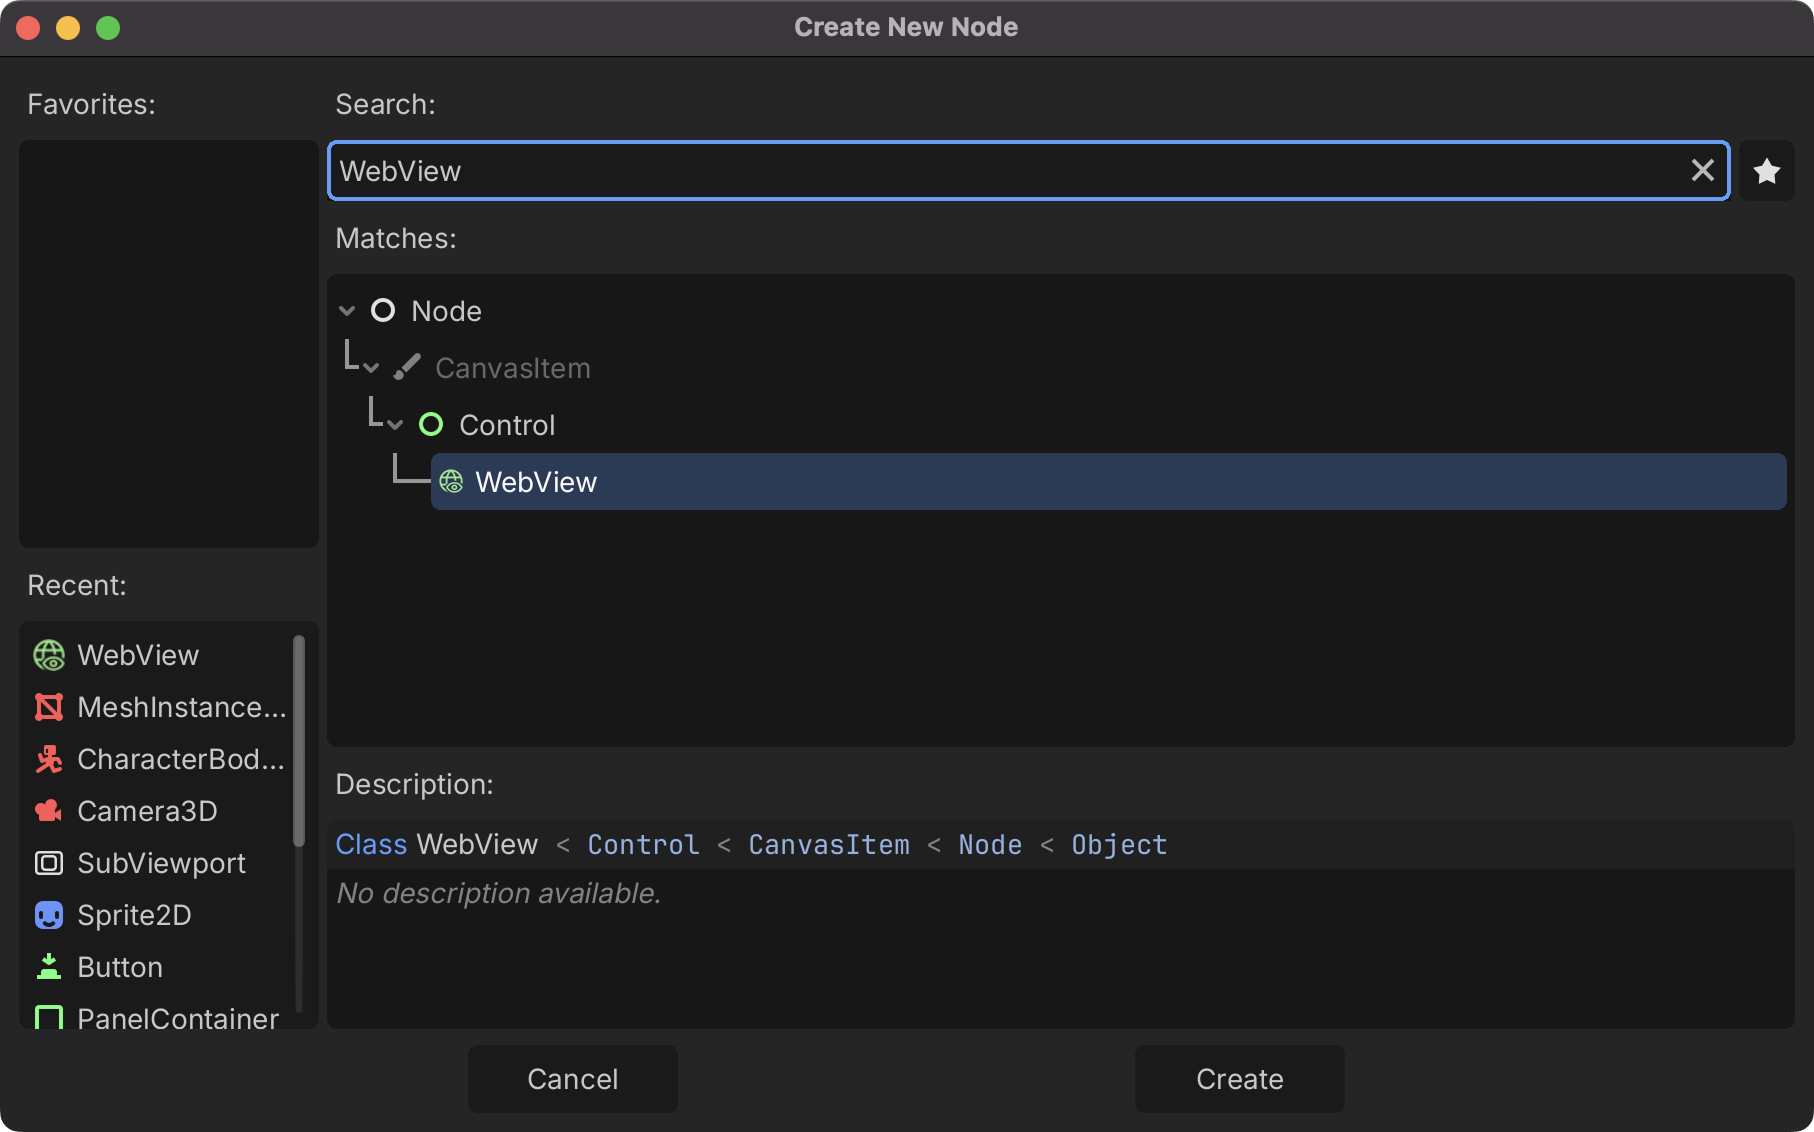
Once Godot WRY is installed and enabled, you can add a WebView node to your scene:
- In the Scene panel, click the "+" button or right-click and select "Add Child Node".
- Search for "WebView", select it and then click "Create".
Basic setup
You can configure your WebView properties in the inspector panel or using code:
$WebView.full_window_size = true
$WebView.transparent = true
$WebView.devtools = true
$WebView.zoom_hotkeys = true
TIP
Notice that we set the full_window_size property to true. This will make the webview ignore any transforms and just take the size of the viewport, which can be very useful for making UIs.
Loading content
In the inspector, you can set an initial URL to be loaded or an initial HTML to be displayed. If you want to load a different page or content during runtime, you can do so like this:
func _ready():
# load a webpage...
$WebView.load_url("https://godotengine.org")
# or some custom HTML directly:
$WebView.load_html("""
<html>
<head>
<style>
body { font-family: sans-serif; margin: 20px; }
p { color: #ffffff; }
h1 { color: #478cbf; }
</style>
</head>
<body>
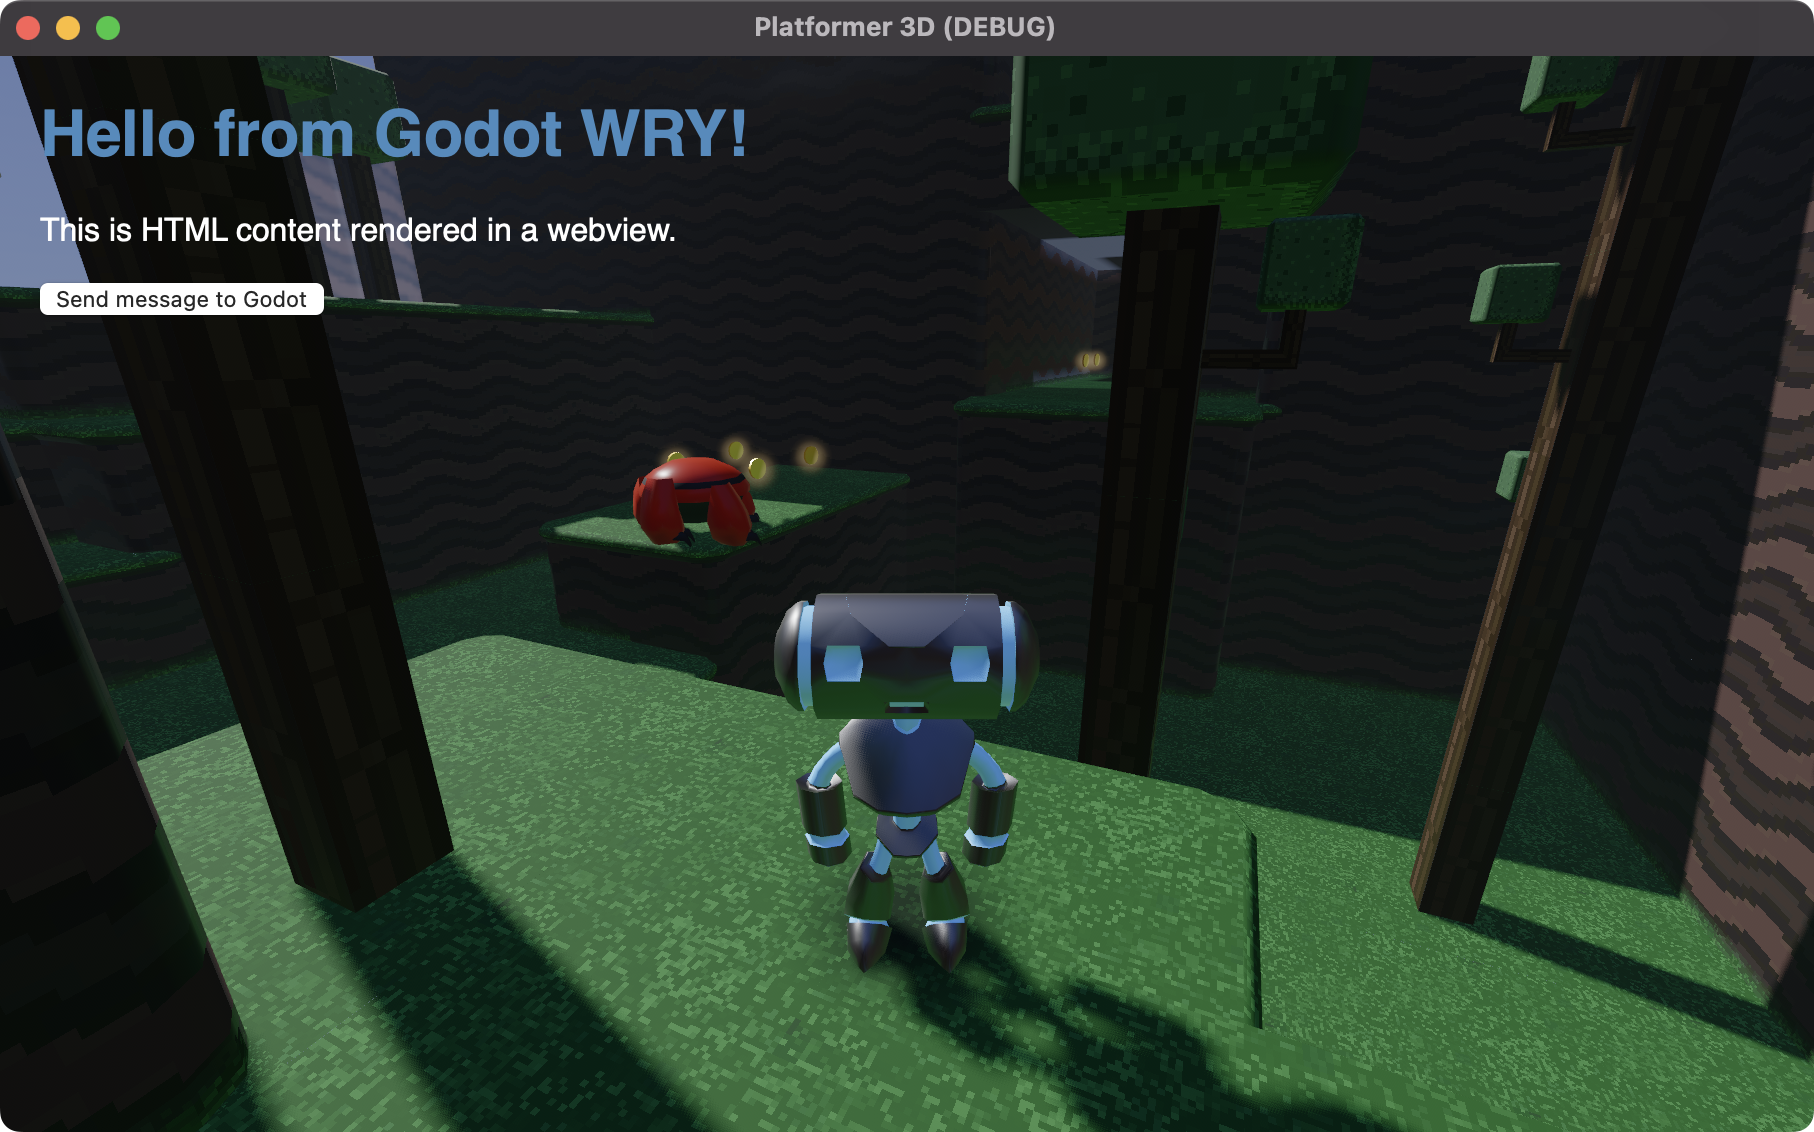
<h1>Hello from Godot WRY!</h1>
<p>This is HTML content rendered in a webview.</p>
<button onclick="sendMessage()">Send message to Godot</button>
<script>
function sendMessage() {
ipc.postMessage("Hello Godot WRY!");
}
</script>
</body>
</html>
""")If you now run your project, you should be able to see something similar to this:
Interoperability
A very powerful feature of Godot WRY it the ability to exchange messages between your Godot game and the web content.
From JavaScript to Godot
You can send messages from JavaScript to Godot using the ipc.postMessage() function in JavaScript.
First, let's load some HTML with a button to send our message. Make sure to connect to the ipc_message so we can retrieve the response later:
func _ready():
	$WebView.connect("ipc_message", self, "_on_ipc_message")

	$WebView.load_html("""
		<button onclick="sendToGodot()">Send data to Godot</button>
		<script>
			function sendToGodot() {
				ipc.postMessage(JSON.stringify({
					action: "update_score",
					score: 100,
					player: "Player1"
				}));
			}
		</script>
	""")

func _on_ipc_message(message):
	var data = JSON.parse_string(message)
	if data.action == "update_score":
		print("Updating score for %s to %d" % [data.player, data.score])
		# TODO: handle the data in your game...
TIP
Notice that the message is sent as a JSON string. While any string would be valid, JSON makes it easier to identify message types and send complex data.
From Godot to JavaScript
Similarly, you can also send messages from Godot to your web content using the method post_message() in GDScript.
In this example, let's send a message when the player's health changes, so we can create a HUD with some simple HTML, CSS and JavaScript to display a health bar:
func update_player_health():
	var message = {
		"action": "update_health",
		"health": 20
	}
	$WebView.post_message(JSON.stringify(message))

func _ready():
	$WebView.load_html("""
		<progress id="healthBar" value="42" max="100"></progress>
		<script>
			document.addEventListener("message", (event) => {
				const data = JSON.parse(event.detail);
				if (data.action == "update_health") {
					const healthBar = document.getElementById("healthBar");
					healthBar.value = data.health;
				}
			});
		</script>
	""")
Evaluating JavaScript
WARNING
Executing JavaScript from a string is an enormous security risk. It is far too easy for a bad actor to run arbitrary code when you use eval(). See Never use direct eval()!.
You can also use eval() to evaluate any arbitrary JavaScript code you want. By following the same example above, we could update a player's health bar value directly like so:
var new_health: float = 20
$WebView.eval("""
	const healthBar = document.getElementById("healthBar");
	healthBar.value = %s;
""" % new_health)